Default WP Plugin
Meet the Client:
So, that’s me – your average WordPress enthusiast. I love starting new projects, but setting up WordPress every time was getting on my nerves. Tired of the same old routine, I decided to create a WordPress plugin to shake things up.
The Hassle:
Picture this: you install WordPress, and then it’s the same old song and dance.
- Tweak settings like the Date Format, Homepage Display, and Permalink Structure
- Say bye-bye to that annoying ‘Hello World’ post.
- Trash the default plugins – ‘Akismet’ and ‘Hello Dolly.’
- Install and activate the ‘Elementor Website Builder’ plugin.
- Set up the ‘Hello Elementor’ theme, kick it into gear, and ditch the other themes gathering dust.
Doing this manually every time? No thanks. It was time for a change.
Enter the Solution:
So, I put on my coding hat and crafted a WordPress plugin. One click, and bam – everything’s set up, just the way I like it.
Cool Features of the Plugin:
- Automated Settings Configuration:
- Date Format changed to d/m/Y.
- Homepage Display set to a static page (‘Sample Page’).
- Permalink Structure set to ‘Post name.’
- Default Content Removal:
- ‘Hello World’ post automatically deleted.
- Default Plugin Removal:
- ‘Akismet’ and ‘Hello Dolly’ plugins removed.
- Plugin Installation:
- ‘Elementor Website Builder’ plugin automatically installed and activated.
- Theme Installation and Activation:
- ‘Hello Elementor’ theme installed and activated.
- Other deactivated themes removed.
In a Nutshell:
My custom WordPress plugin is the game-changer I needed. Setting up a new WordPress site is now a breeze – all thanks to a single click. This project shows that even us regular folks can bend WordPress to our will and make it work just the way we want it to. Cheers to hassle-free WordPress setups!
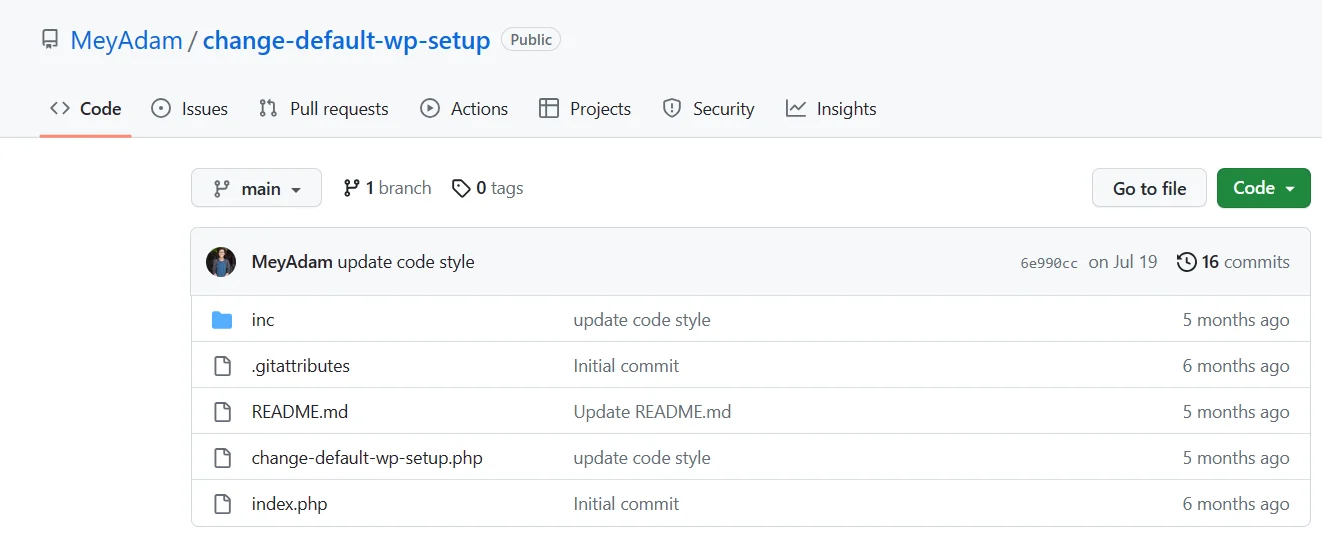
The code for this plugin can be accessed on my GitHub page here https://github.com/MeyAdam/change-default-wp-setup

Notes:
The plugin will execute all logic once the “Activate” link is clicked. However, this approach may not be optimal.
To enhance the plugin, I’ve established the following milestones:
- Add a “Settings” link below the plugin name in the plugin list.
- Introduce an “Change Default WP Setup” admin menu on the WordPress dashboard.
- Upon clicking “Activate,” users will be redirected to the plugin settings page.
- The settings page will provide information about the actions the plugin will perform.
- Users will need to check the “Agree” checkbox and then click “Save Changes.”
- Then, users are given the option to deactivate the plugin.
After completing these steps, the plugin will execute all logic.
